GETTING STARTED
Your first four runs, condensed. Total time to Floor 5 clear: ~3 hours.
✓ Verified in v1.0 (Full Release) · Aug 2026
FIRST RUN FLOW
[Bunnyville] ──► [F1-F3 Loot] ──► [F4 Shop: heal first] ──► [F5 Mole Stronghold]
      │                    │                                        │
   talk to JJ         reroll ≤1x                            die once, learn burrow
      │                    │                                        │
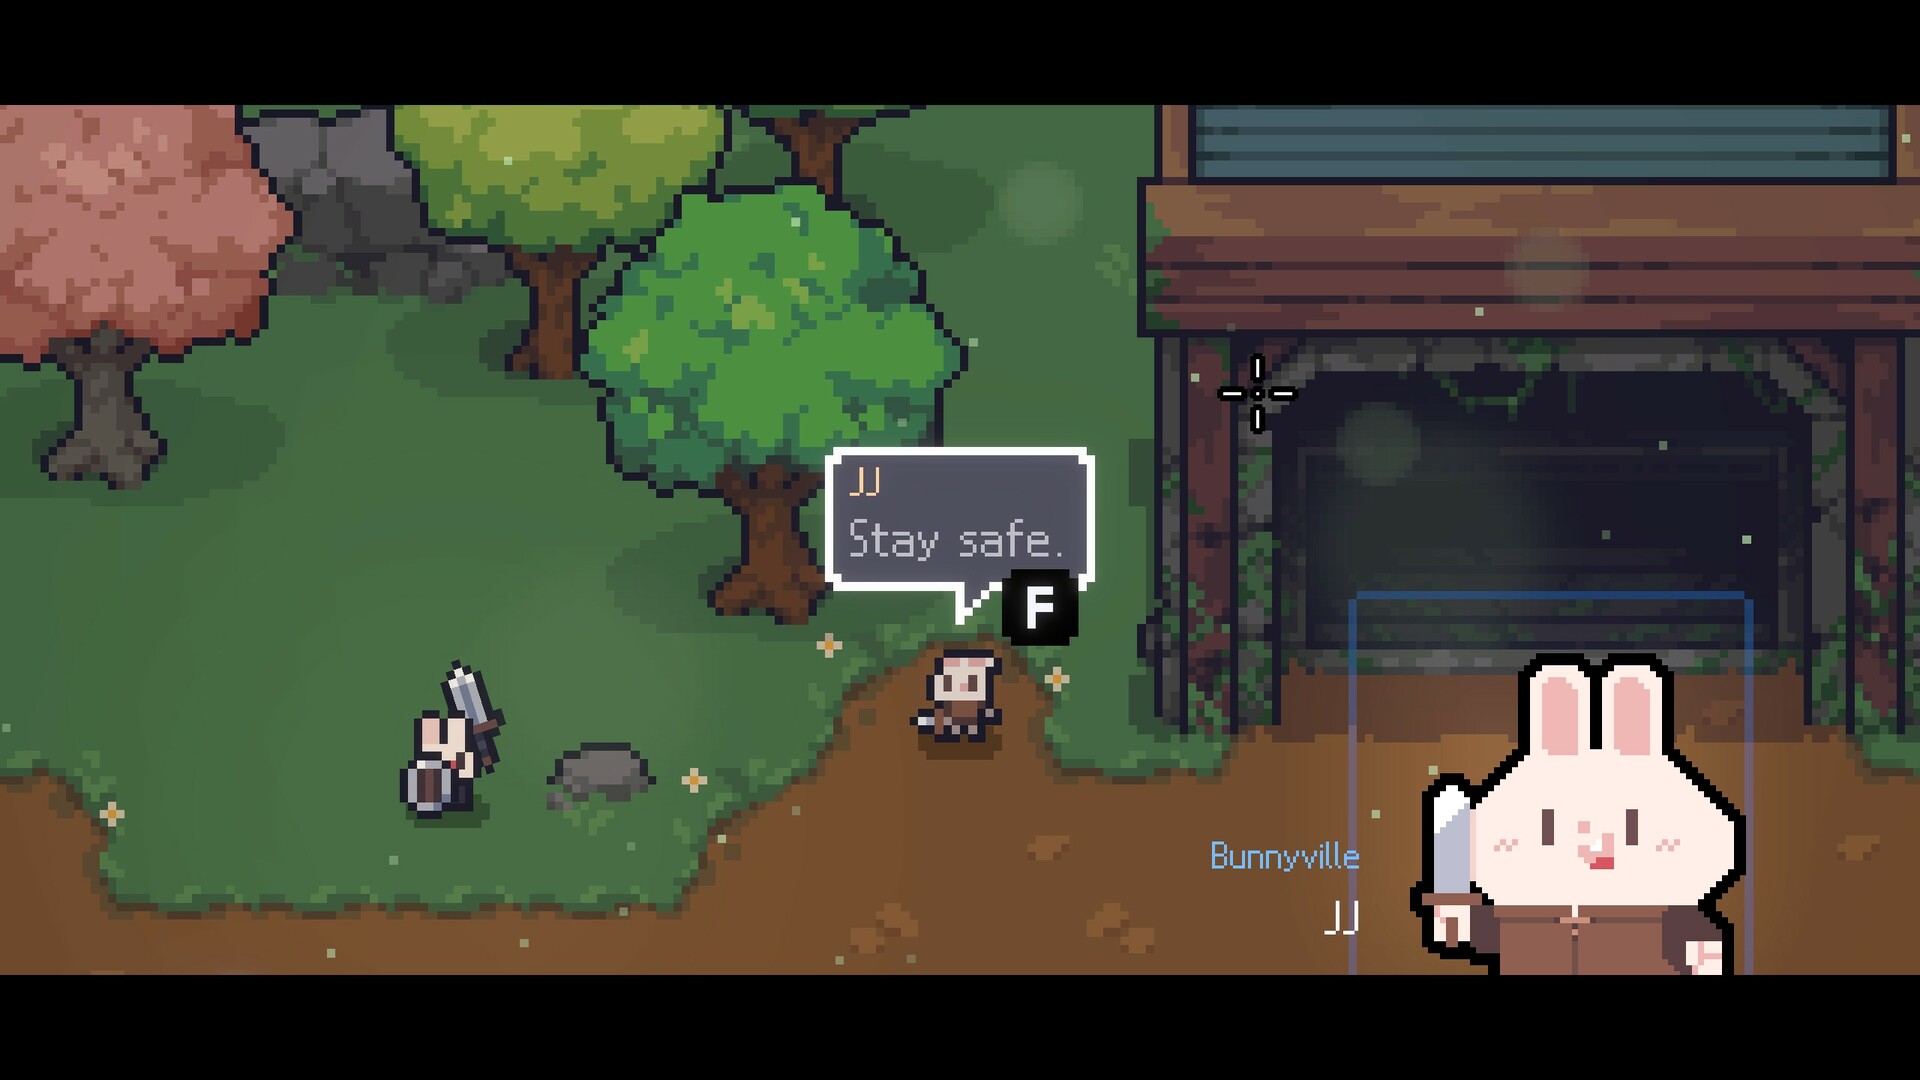
└──────────► [unlock: 2 relics before F5] ◄── retry ──────────┘Wake up in Bunnyville (兔兔镇)
The hub. Talk to JJ near the gate ("Stay safe.") — the dialogue flags your save for the tutorial chest. Buy nothing yet; gold is tight on run one.
Pick ONE weapon and commit
The tower lets you carry two, but your first run should master one. Short Sword (短剑) is the tutorial favorite: fast recovery forgives bad timing. Greatsword (巨剑) is a trap for new players — its wind-up will get you killed on F3.
Learn the dash i-frames
Dash has ~0.3s of invincibility, and it cancels every attack animation. This single mechanic is 70% of Sephiria's combat. Practice: dash THROUGH the Fanatic mobs instead of away from them.
"Dash-canceling turns the Short Sword from a butter knife into a sewing machine." — our most upvoted forum comment
Floors 1–3: loot everything, reroll once
Early relics are cheap power. On the level-up selection screen you get 4 Reroll (重掷) chances — spend at most ONE before Floor 5. Save the rest for your first Combo Effect decision.
Floor 4: the shop rule
Buy healing FIRST, then damage. A run that reaches Mole Stronghold (鼹鼠要塞) at full HP with a white weapon beats a glass-cannon run that arrives at 40%.
Die on Floor 5. It's fine.
Mole Stronghold is the skill check. Everyone dies here on run one — the boss burrows and you will panic-dash into it. Unlock the short-term goal of "reach F5 with 2 relics" and you'll clear it by run four.
⚠ [Based on Dungreed mechanics and EA community reports. Verify in v1.0 Full Release.]
Controls worth rebinding
- · Dash → mouse side button (faster than Shift)
- · Weapon swap → Q (you will panic-press it)
- · Reroll on level-up screen: 4 chances per run
✓ Verified in v1.0 (Full Release) · Aug 2026