FLOOR GUIDE
The climb, floor by floor, like an expedition log.
✓ Verified in v1.0 (Full Release) · Aug 2026
Bunnyville
- Enemies
- None (NPCs: JJ, merchants)
- Drops
- Tutorial chest after talking to JJ
▶ Stock potions here. The gate behind JJ leads to F1.
Bunny Outskirts
- Enemies
- Slimes, wild bunnies, spear mobs
- Drops
- White/green relics, Short Sword upgrades
▶ Learn dash i-frames here. Take every chest — early relics are cheap power.
Shop Floor
- Enemies
- None
- Drops
- Shop: potions, 1 random relic, reroll tokens
▶ Healing first, damage second. Always.
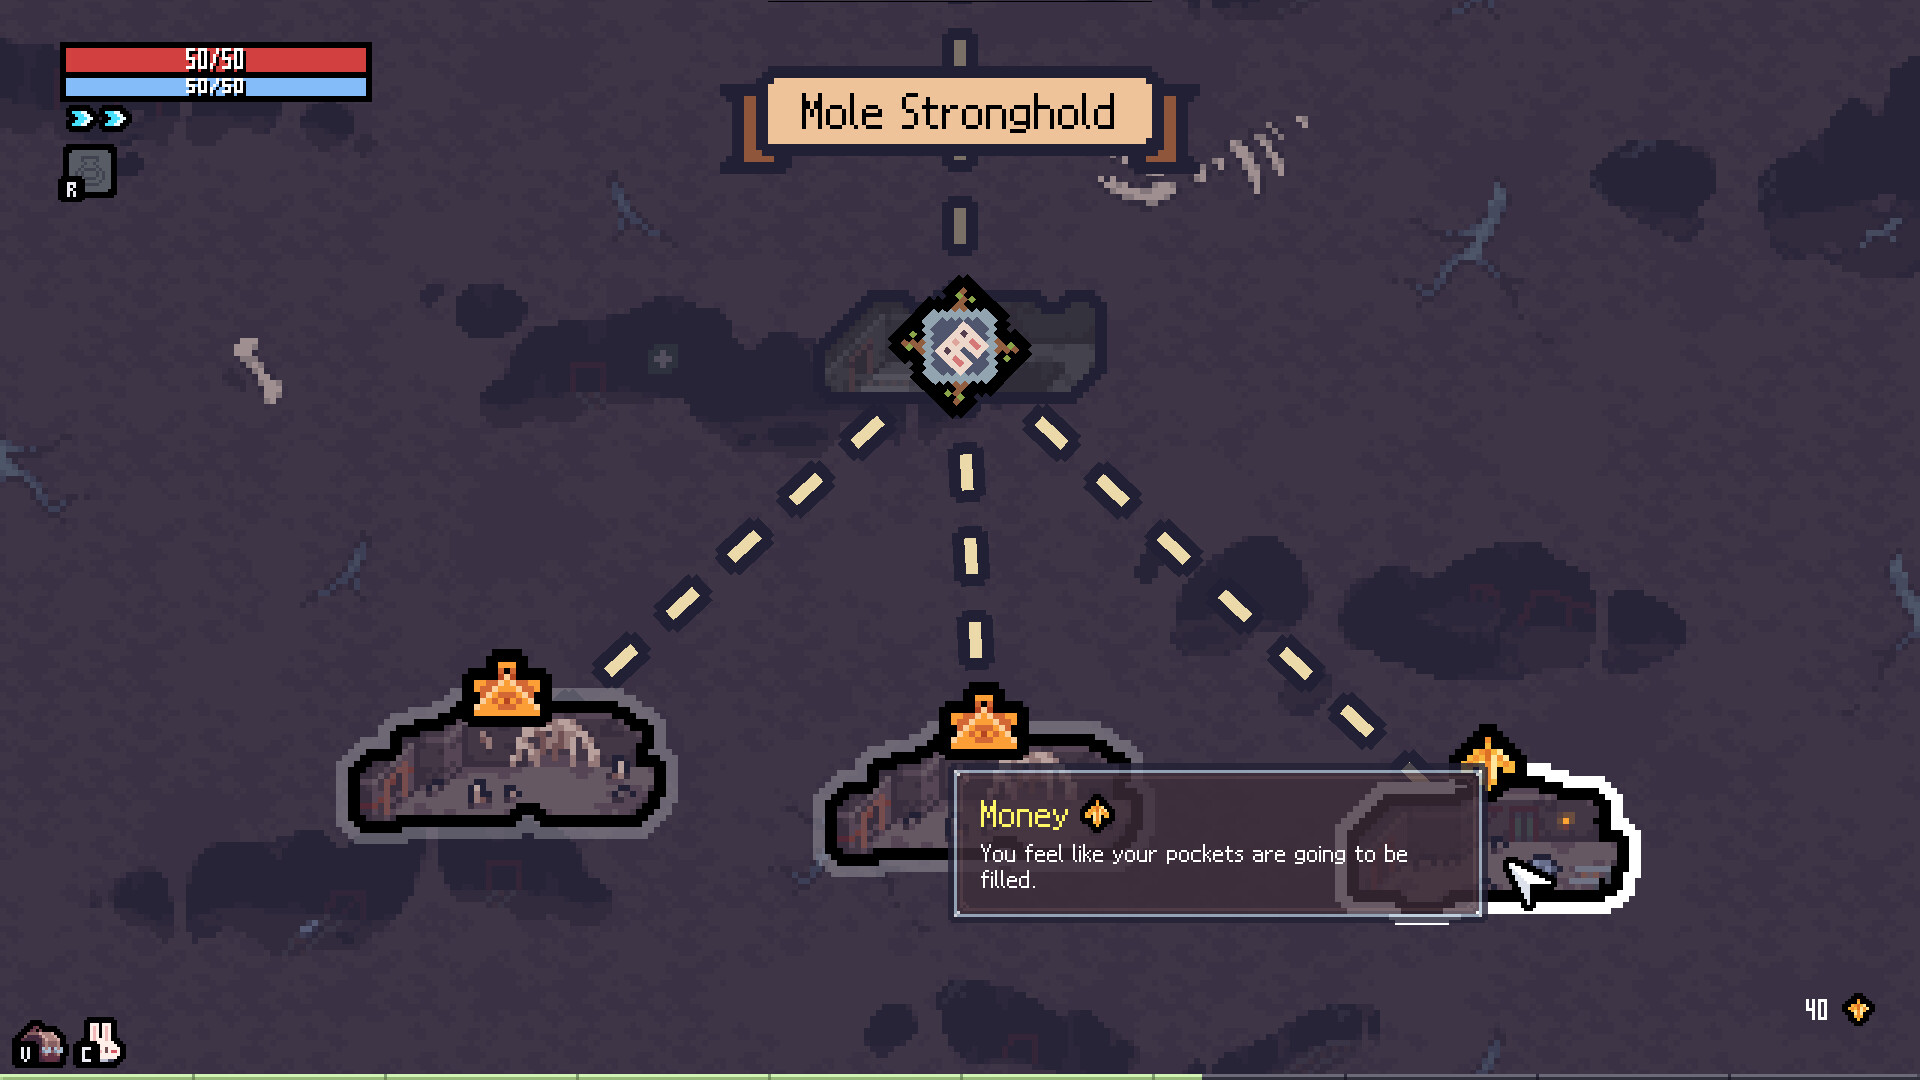
Mole Stronghold☠ BOSS
- Enemies
- Mole miners, burrowing elites. BOSS: Mole King
- Drops
- Crimson Blade (~8% elite chest), storm-tagged relics
▶ BOSS: burrows at 66%/33% HP. Stand still when it digs — it surfaces where you AREN'T moving. Panic-dash = death.
Flooded Caverns
- Enemies
- Fanatics (explode on death), hex mages, bats
- Drops
- Blue relics, combo-tag pieces (Magitech/WindSong)
▶ Fanatic corpses explode after ~1s — kill, dash away, THEN loot. Spear out-ranges the blast.
Guardian's Gate☠ BOSS
- Enemies
- BOSS: Tower Guardian (3-hit combo, flight phase)
- Drops
- First guaranteed purple relic, Transference discount token
▶ Ground phase: dodge INTO the 3-hit combo, punish after the third swing. Flight phase (under 40% HP): ranged swap or wait it out — it lands after 3 dive-bombs.
Deep Tower
- Enemies
- Elite everything, trap rooms (laser grids)
- Drops
- Purple relics, +3 upgrade materials
▶ Laser grids fire on a fixed 2.5s cycle — count the rhythm, cross on the off-beat. This is where 80% of runs die. Slow down.
The Canopy☠ BOSS
- Enemies
- FINAL BOSS: The Blighted Tree
- Drops
- Clear screen + "Sephiria" title card (and bragging rights)
▶ Roots sweep telegraphed by glowing soil — the safe zone is always near the trunk. Bring your finished combo; there is no "next floor" to save rerolls for.
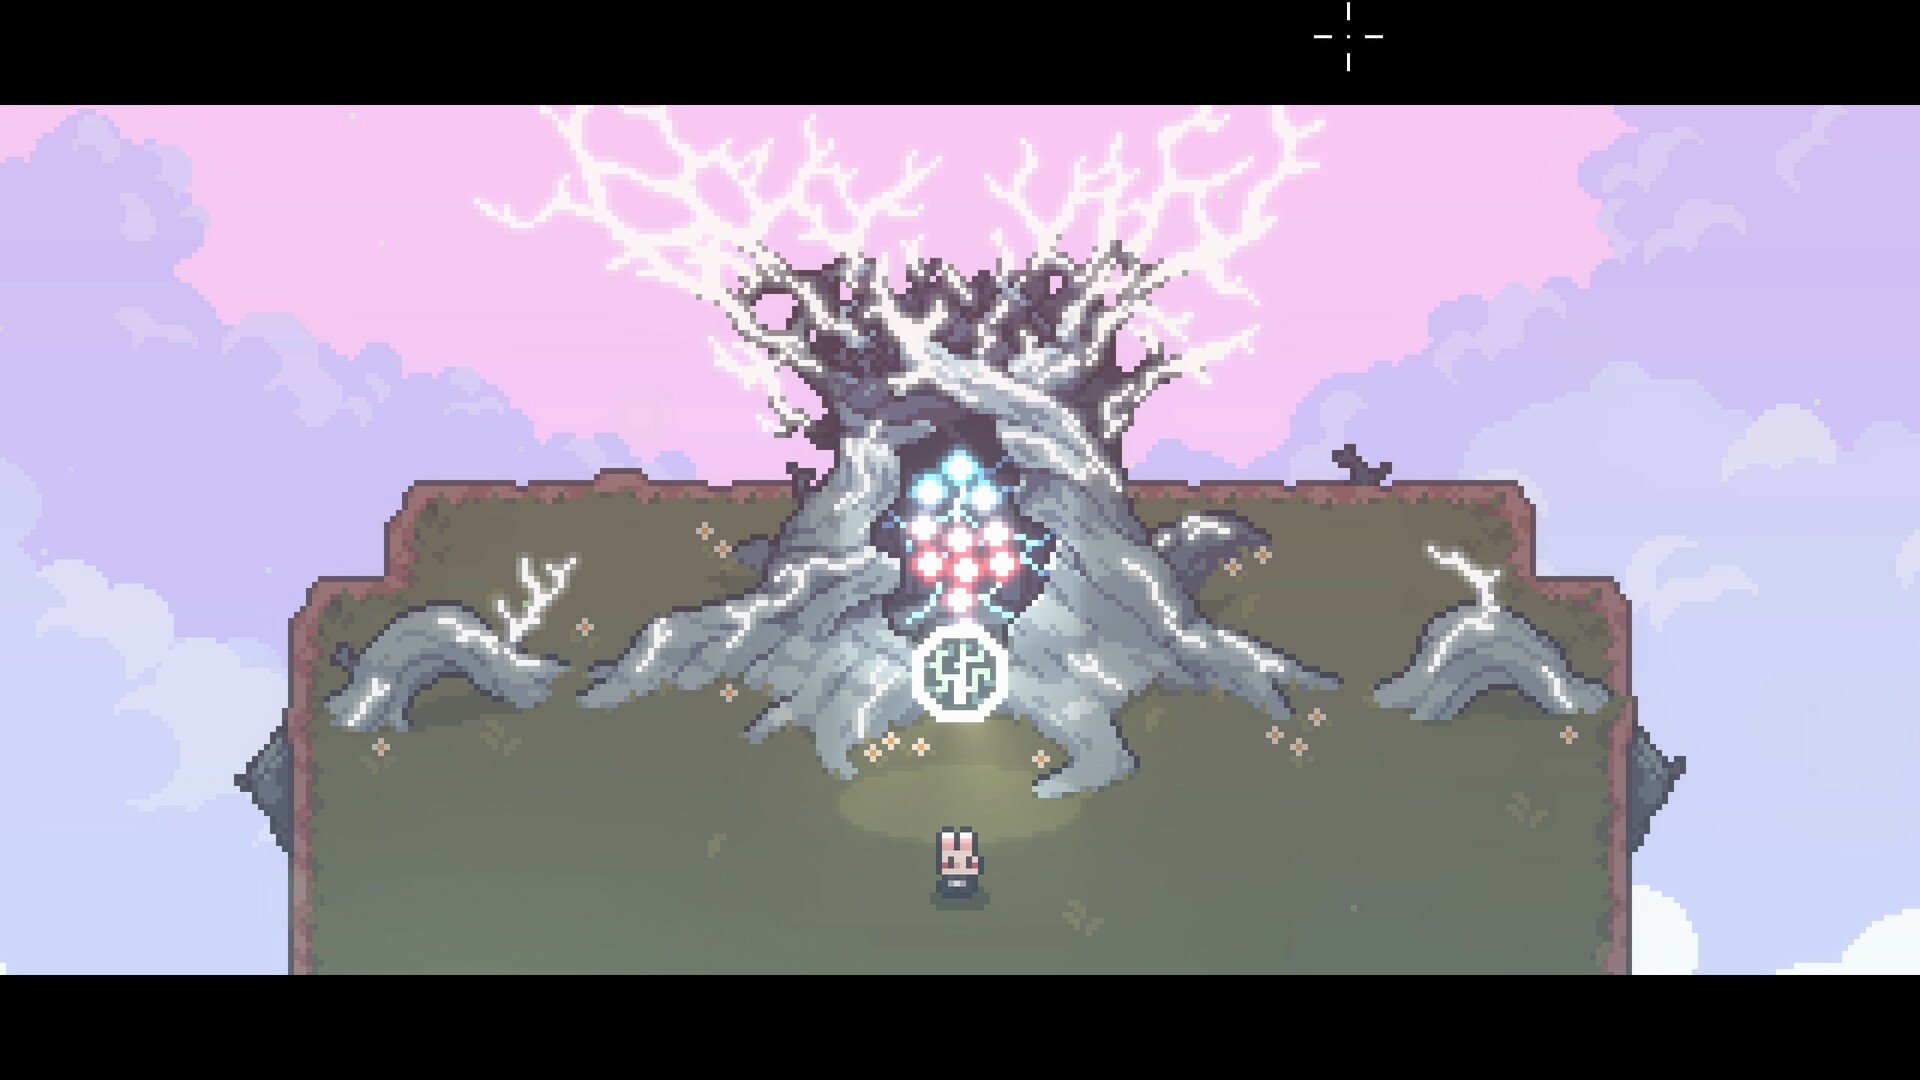
— F15 root-pattern timing chart still being recorded
⚠ [Based on Dungreed mechanics and EA community reports. Verify in v1.0 Full Release.]
✓ Verified in v1.0 (Full Release) · Aug 2026
Secret Rooms
How they work: every non-shop floor has one secret room, hidden behind a cracked wall section. The crack glints once when a charged/bow attack passes near it. Walk up and dash INTO the wall to break it open.
- F3 secret room: contains the Rusty Key (opens the F8 waterfall chamber) + a green relic chest.
- F8 waterfall chamber: behind the falls after the bridge section — the Moonlit Katana rests here (see Weapons).
- F5 secret room: reroll tokens ×3. Worth the detour before the Mole Stronghold fight.
Community note: the crack flash is subtle by design. If you run a staff build, tag walls with bolt spam in narrow corridors — the cheapest secret-finder in the game.
Hard Mode (Heat)
Heat unlocks after your first F10 clear: the gate in Bunnyville (left of the fountain) opens and adds +1 heat per run tier. Each heat adds enemy damage, elite density and — past heat 5 — relic budget pressure. Heat 6 is where build discipline starts mattering (see Builds).